In this tutorial, I will be teaching you how to do a basic sketch.
- First and foremost, I suggest using a sharpened, granite pencil and a soft eraser.
- Sketchpad paper is great, but for beginners, I suggest using commercial xerox paper.
- Use a physical object or picture to work off of until you become adept at sketching from your mind.
- Take your time and try to get every shape as close to the original as possible
IDENTIFY YOUR OBJECT
The first step to any good sketch is to identify what you want to draw. For this tutorial, I decided I would do a very simple and basic stick of deodorant.
(I suggest starting your sketching with small objects with simple shapes, then working up to larger, more complex objects.)
KNOW THE TECHNIQUE

The next (and probably most important) step, is to know HOW to sketch.

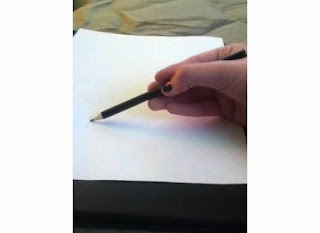
- First, hold your pencil at a 45 degree angle to the paper with your fingers holding the pencil toward the middle. This might feel weird at first since people usually hold pencils close to the tip, but in order to get that 45 degree angle, it's best if you hold it like this.
- Secondly, you're going to want to keep your wrist loose and relaxed. This is to keep your lines from being too hard or neat. When sketching, your lines shouldn't be neat at all.
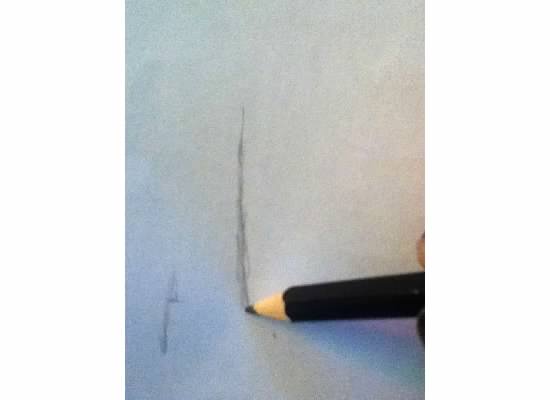
- Thirdly, your lines should be choppy. Instead of pulling your pencil across the page in one, long line, use smaller, lighter lines that ultimately blend together to create one, messy, singular line, as pictured to the right. This allows you to shape your lines the exact way you want them to be, without making a commitment to a dark, risky line that may cause ghost marks.
- Fourthly, it's important to always have your object in your sight. You want to have 50/50 vision, which means, 50% of the time you should be looking at your paper, and 50% of the time should be spent looking at the object. This is to help you form the lines the way they need to be in order to get the closest replication.
SKETCHING A BASIC SHAPE

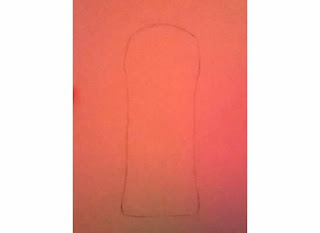
Now that you know the correct technique to sketching, it's time we sketched out a general shape for our drawing.
- Using the 50/50 technique, contour the lines to fit the subject of your drawing.
- Do not add details at this point. Pretend all you're seeing of this object is a shadow, and draw the basic shape.
- KEEP YOUR LINES LIGHT. This is to prevent ghost lines if you mess up.
(Sorry about the poor quality of this photo)
ADDING LARGE DETAILS
Now that you have a basic shape, feel free to add in any large details. Because this is a drawing of YOUR free will, you can add or remove and details that you feel necessary. I decided to keep all large details in this case.
- Add/Remove when necessary
- Try to keep proportions the same! When drawing, it always looks nice when things are proportionate. This can be accomplished by using 50/50 vision and comparing the subject to the drawing up close.
- Keep things simple. Don't go too crazy on the details just yet. Only try to get the big ones in first, and add smaller ones in later. This keeps your options open to doing different things with your drawing later and prevents mistakes like running out of space and disproportionality
CHECKING YOUR WORK
At this stage in drawing, it's always best to check how your work is coming along. Here are some questions you should ask yourself.
- Is it looking like what I want it to look like?
- Is it proportionate to the subject?
- Are my lines the quality I want them to be?
- Does it look appealing to the eyes?
- Have I made sure I don't have any ghost lines?
If you answer yes to all of these questions, you can proceed. If not, you may want to consider going back to fix your mistakes or starting over completely. Don't get distressed. Even the greatest artists make mistakes.
ADDING SMALL DETAILS

If your work looks good enough to continue, add in any small details that you think look nice.
- Don't go overboard on details. Less is more, in some cases.
- Add/Remove any details you feel necessary. In this case, I removed the wording at the bottom of the label.
- Darken your previous lines up a bit. This is to keep everything separated and organized.
FINISHING TOUCHES

Now that you've added all of the details to your drawing, it's time you've finished up the sketch.
- Darken your lines. Not so much that it rips a hole through the paper and makes your drawing look sloppy, but just enough to keep things looking nice.
- Refine any mistakes. This is the last time you can do this safely before moving on to filling in the lines.
- Straighten up the edges and erase any unneeded lines or blemishes. In this case, I retraced the wording. I didn't, however, remove that little blotch in the middle of the label, but I will before I decide to fill it in.
COMPARE
Now it's time to compare your sketch to the subject.
- Does it look like your object?
- Does it look neat, clean and ready to fill in?
If you answer these with yes, it's time to move into filling in the drawing with whatever medium you choose, if you even want to fill it in at all.
My next tutorial will be on shading and pencil techniques. Stay tuned! (:
--Dedicated to Haley

 The next (and probably most important) step, is to know HOW to sketch.
 Now that you know the correct technique to sketching, it's time we sketched out a general shape for our drawing.